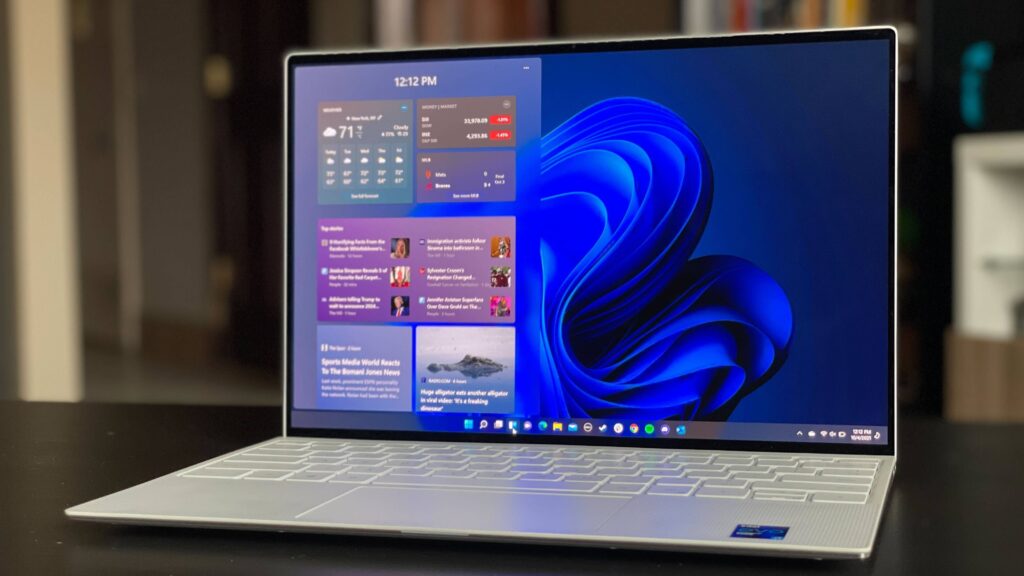
There are some helpful features within this operating system that you don’t want to overlook. When purchasing a new PC, it will come with Windows 11 and can be overwhelming. Among some changes: The start button has moved, the menus look different, and how you organize the desktop. I am going to share some tips to help with the transition.

Dark Mode
White backgrounds are painful to look at on a bright screen, and screens get brighter every year as display tech advances. The massive fields of white can be hard on the eyes, which is why I’ve become a fan of dark mode. Windows 11 has a dark mode you can enable, which will switch the appearance of Windows to a cooler, darker palette. Even better, it will do its best to automatically switch all apps which support it to dark mode, saving you some time and hassle.
To enable Dark Mode in Windows 11, navigate to Settings > Personalization > Colors and select “Dark” from the “Choose your mode” dropdown menu. You can also set up custom color palettes if you prefer.
Task Bar
When I first started using Windows 11, I didn’t like the centered Start menu. It took some time, but I got used to it. If you want to move it back to the left-hand corner, right-click the taskbar and select Taskbar settings > Taskbar behaviors, and change the Taskbar alignment to Left.
What I struggled with more was the row of Microsoft apps that are pinned to the Windows 11 taskbar by default. I prefer to only have apps I use often pinned. Some of these, like the Microsoft Store shortcut, can be removed by simply right-clicking the icon on the taskbar and selecting Unpin from the taskbar from the context menu.
Others take more time to remove. You can hide them from the taskbar by navigating to Settings > Personalization > Taskbar and opening the Taskbar items sub-menu, where you’ll have the choice to disable the Microsoft Teams, Widgets, and Task view buttons. You can also choose to hide the Search box that’s now included in the Windows 11 taskbar by default, or slim it down to just an icon.
Window Shake
This is my favorite feature added to Windows 11. It allows you to quickly minimize all windows except the one you’re focusing on by simply shaking the window around a bit. This is a fun way to quickly get rid of everything except what you want to focus on but not close everything out. It is not enabled by default. To enable it, navigate to Settings > System > Multitasking and switch the Title bar window shake to On.
Clipboard History
I believe everyone has used the clipboard feature in previous versions. Did you know that Windows Clipboard has a hidden feature that makes it far more useful? I’m talking about Clipboard History, a handy, little app that shows you a chronological list of what you’ve copied. This is a small but hugely useful feature to know about, especially if you spend a lot of time copying data, text, and images. With Clipboard History, no longer do you need to worry about flipping back and forth between windows, repeatedly copying and pasting the same things when you realize you need them. Instead, you can simply open it whenever you need something you’ve copied and it’s right there waiting for you to paste in.
The fastest way to access Clipboard History is the Windows key + V key combo. It will pop up with a list of what you’ve recently copied, though if you’ve never used it before you’ll first have to press a button to enable the feature.
Add Options to your right-click menu
The right-click menu now focuses only on the most important settings per Microsoft. Those important settings may not match what is important to you. If you want to add additional options select Show more options to open a spill-over menu.
Customize the Quick Settings panel
Windows 11 separates the Quick Settings that appear in the Action Center in Windows 10 from that panel’s notifications. Click the area of the taskbar that has Wi-Fi, speaker, and battery icons to open a settings menu that lets you control Wi-Fi, Bluetooth, airplane mode, battery-saver mode, and more. To add or remove settings buttons, click the pencil-shaped Edit quick settings button. Unpin what you don’t want or click Add to make new features accessible from the Quick Settings menu.
Snap Your Window Layouts
Microsoft has supported the snap and resize feature since Windows 7, but it gets a boost in Windows 11 with Snap Layouts. You can still drag windows to the sides and corners for half- and quarter-screen layouts. Windows 11 adds a hover menu over the Maximize button that offers layout options — one large window on the left and two on top of each other on the right, or three in a row, for example. Your choices depend on the size of your display.
Closure
Windows 11 has many more differences from previous operating systems. Hopefully, those shared in this blog will help you adapt.
“The secret of change is to focus all of your energy, not on fighting the old, but on building the new.” – Socrates

